
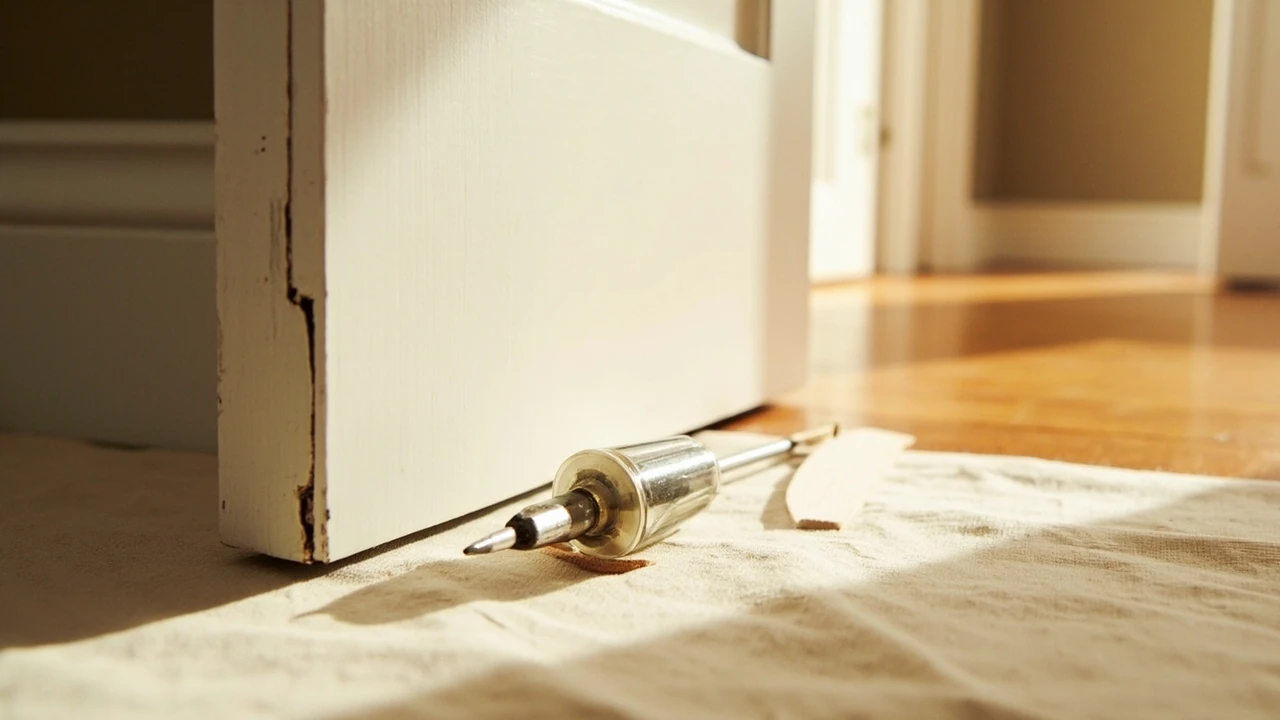
How to fix a sagging door
A door that scrapes the jamb, refuses to latch, or swings open on its own is one of the most common repair headaches in an older home. Learning how to fix a sagging door is less about carpentry skill and more about methodically tracking the problem to its source. In most cases, the door itself is fine; the hinges, screws, or frame have simply moved over years of use and seasonal movement.
This guide walks through the diagnosis, the fix, and the small judgment calls that decide whether a 20-minute tune-up is enough or whether a hinge, jamb, or even the frame itself needs more serious attention. The same approach works for interior doors and most exterior wood doors in stick-frame houses.
Why doors sag in the first place
A door is essentially a heavy rectangle swinging on two or three small hinges attached to a wooden frame. Every time it opens, gravity pulls down on the door side while the latch side tries to stay put. Over thousands of cycles, the hardware and the wood absorb that load unevenly. The result is the classic symptom set: a door that rubs the top corner of the latch jamb, leaves a wide gap at the top hinge, or binds near the floor.
Common underlying causes include:
- Short hinge screws that never reached the framing behind the jamb
- Stripped screw holes in soft pine or MDF jamb stock
- Hinges set too deep into the mortise, dropping the door below its original position
- Seasonal humidity changes that swell the door or twist the frame
- Foundation settlement that tilts the entire rough opening
- Heavy hardware (mirrors, coat hooks, full-length mirrors) that adds extra leverage
Most sagging can be traced to the top hinge. Because it carries the door\u2019s full weight at the moment of opening, even a small loosening shows up as visible movement. A door that drops only an eighth of an inch will not latch, because the deadbolt or latch tongue now misses the strike plate by exactly that amount.
Tools and materials you will need
Before touching the door, gather a basic kit. You can get most of this from a hardware store for less than a typical service call.
| Item | Why you need it | Optional or required |
|---|---|---|
| Screwdriver set (Phillips and flathead) | Tighten existing screws and swap in longer ones | Required |
| Cordless drill with driver bits | Speed up screw changes, drill pilot holes | Optional but recommended |
| 3-inch wood or construction screws | Reach framing behind the jamb for a real bite | Strongly recommended |
| Wooden golf tees, 1/4-inch dowels, or wood filler | Repair stripped screw holes | Required for stripped holes |
| Wood glue | Glue in dowels or golf tees for screw repair | Required for stripped holes |
| Utility knife or chisel | Trim repaired plugs flush with the mortise | Required |
| Hinge shims or thin cardboard | Push a hinge leaf out to fine-tune alignment | Optional |
| Level (2-foot or longer) | Check hinge side and latch side plumb | Required |
| Pencil and tape measure | Mark reference lines and check gap consistency | Required |
| Safety glasses | Protect eyes from dust and metal shavings | Required |
If your door is a heavy exterior unit, plan on a helper to support it while you remove a hinge pin. Interior doors are usually light enough to manage alone.
Step 1: Diagnose before you touch a screwdriver
The fastest way to make a sagging door worse is to start tightening every screw you see. Diagnosis comes first.
Open and close the door slowly and watch three things:
- Where does the door contact the jamb? Look for paint transfer, scuff marks, or shine on the wood.
- How wide is the gap between the door and the jamb on the hinge side? A gap that widens at the top signals a loose top hinge.
- Does lifting the door by the handle change the fit? If grabbing the knob and pulling up makes the door swing freely, the hinges are moving under load.
Next, check the screws themselves. Try each one with a hand screwdriver, not a drill. A screw that spins freely is stripped. A screw that resists and feels firm is doing its job. Drill drivers mask stripping by skipping, which is why a hand check is more accurate.
Finally, look at the frame. Use a level on the hinge jamb. If the jamb itself is out of plumb, no amount of screw tightening will make the door hang correctly, and the fix moves from hinges to the frame. In a settled house, the practical decision is usually to make the door work as well as possible, not to relevel a foundation.
Step 2: Tighten what is loose, replace what is stripped
Most sagging doors respond to two interventions: longer screws and repaired holes. Done together, they often resolve the issue without any further work.
Upgrade the hinge screws
Standard hinge screws are about three-quarters of an inch long, which barely reaches past the jamb into the rough framing. Replace the center screw on each jamb-side hinge leaf with a 3-inch screw of the same diameter. The longer screw grabs the framing stud behind the jamb and pulls the hinge tight against the structural wood rather than the thin jamb stock.
Work from the bottom up. If you are correcting a droop, the top hinge is doing the most work, so it benefits most from the upgrade. Use a drill on low speed with a hand on the trigger to feel for any give. If a screw suddenly loses resistance, stop. You have hit a stripped hole, and the next step applies.
Repair stripped screw holes
Stripped hinge mortises are the most common cause of a door that will not stay tight. The original wood fibers around the screw have been pulverized by repeated tightening, and no new screw of the same size will hold. Two reliable repairs work for almost every homeowner:
- Golf tee method: Dip a wooden golf tee in wood glue, tap it into the stripped hole, let it dry, then cut or chisel it flush with a utility knife. Redrill a pilot hole slightly smaller than the screw\u2019s shank and reinstall the screw.
- Dowel method: Drill out the hole to 1/4 inch, glue in a short length of 1/4-inch dowel, let it cure, then trim and redrill. The dowel provides fresh, solid wood for the screw threads to bite into.
Either fix gives the screw a fresh grip. After the repair, reinstall the original screw and test. The door should feel noticeably stiffer when you lift the handle.
Step 3: Shimming a hinge that sits too deep
Sometimes a door is hung with one hinge set too deeply into its mortise. The door drops on that side and the latch side scrapes. Tightening screws will not help because the geometry is wrong; the hinge itself needs to move outward.
Cut a shim from thin cardboard, a manila folder, or a piece of hardboard. Trace the hinge leaf, cut it out, and trim it to match the area under the hinge, leaving the knuckle side free. Slip the shim behind the hinge leaf and reinstall the screws. One shim is usually enough. Test the fit and add or remove as needed.
This is also a good moment to add longer screws on the same hinge, since you already have the hardware off and the hole accessible.
Step 4: Adjust the strike plate if the latch misses
After fixing the hinges, the door may now sit where it should, but the latch tongue no longer lines up with the strike plate. Two fixes cover most cases.
If the strike plate is off by an eighth of an inch or less, you can file the opening slightly to widen it. Remove the plate, clamp it in a vise, and use a flat file to remove a small amount of metal on the side the latch is missing. Files only cut on the push stroke, so lift slightly and pull back before each push. Reinstall the plate and test.
If the strike plate is off by a quarter inch or more, something is misaligned. Go back to the hinges and confirm your work. If the alignment is correct and the plate still misses, the strike plate mortise itself can be plugged with a glued dowel, filed flush, and a new mortise cut in the right location. This is more involved and worth doing only if the door\u2019s final position is otherwise correct.
Step 5: Decide when the frame is the real problem
Some sagging has nothing to do with hinges. If the level shows the hinge jamb out of plumb by more than a quarter inch over its length, or if you can see the door frame pulling away from the wall, the issue is structural. Tightening hinges and replacing screws will not solve it. Possible causes include:
| Symptom | Likely cause | Reasonable homeowner response |
|---|---|---|
| Diagonal crack at the upper corners of the door opening | Seasonal movement or minor foundation shift | Monitor, repair hinge sag, refill crack with flexible caulk |
| Visible gap between the casing and the drywall | Framing shrinkage or truss uplift | Refasten casing, recheck door after a season |
| Floor is noticeably sloped toward the door | Foundation settlement | Consult a foundation or structural specialist |
| Door frame twisted, hinge mortise visibly tilted | Severe settlement or impact damage | Stop adjusting hinges, call a carpenter |
The honest goal is a door that closes, latches, and does not rub. Perfection is rarely achievable in a house that has been settling for decades, and over-shimming a hinge to chase a perfect gap usually just creates a new problem elsewhere.
Step 6: Quick maintenance to keep the fix from coming back
Once the door hangs correctly, a few small habits will keep it that way. Tighten hinge screws with a hand screwdriver every year or two. Avoid hanging heavy items from the door, especially on the hinge side, because the leverage amplifies the load on the top hinge. If you live in a region with strong seasonal humidity swings, expect the door to need a minor adjustment in the first dry spring after a wet winter.
Lubricating the hinges with a silicone spray or a small amount of white lithium grease also helps. Squeaks are not just noise; they signal a hinge where the pin is binding, which over years can wallow out the mortise.
Common mistakes to avoid
Most failed sagging-door repairs come from the same handful of errors. Working through this list before you start saves time.
- Using the wrong screw length. Anything under 2 inches is unlikely to reach framing in a standard wall. Aim for 3 inches on at least one screw per jamb-side hinge.
- Over-driving screws. A screw driven too far splits the jamb or strips the hole. Stop the moment you feel firm resistance.
- Shimming the latch side instead of fixing the hinge side. Moving the strike plate only hides the symptom. Fix the hinge first, then check whether the strike plate is still off.
- Removing all the hinges at once. On a heavy door, this lets the door fall. Replace one hinge at a time.
- Filing a metal strike plate without supporting it. Without a vise, you will round the opening instead of straightening it. Clamp the plate or buy a replacement, which is cheap insurance.
When to call a professional
A competent homeowner can handle the majority of sagging door repairs with a screwdriver, some longer screws, and a handful of golf tees. There are, however, a few situations where a carpenter or handyman will save money in the long run:
- The frame is visibly out of square and the door does not close even after hinge repair
- The door is solid wood or composite exterior construction, where planing or rehanging changes the sealing surface
- You find signs of water damage, rot, or termite activity in the jamb
- Multiple doors in the same area are sagging, suggesting a structural issue rather than a hardware one
In those cases, the cost of a service call is usually less than the cost of a mistake that requires replacing the entire door and frame. A useful reference for the kind of work involved in rehanging a door is a step-by-step homeowner walkthrough such as the practical guide to fixing sagging doors from Rainford Restorations, which covers the same diagnostic and hinge-repair sequence described here.
For background on the structural role of a door frame within a wall, the door frame entry on Wikipedia explains how jambs, headers, and rough openings are assembled in standard residential construction, which is useful context when deciding whether the issue is hardware or framing.
A quick reference checklist
Use this list when you are ready to start the repair. It condenses the steps above into a single pass you can follow with the door in front of you.
- Open and close the door. Mark every place it rubs or binds.
- Check the gap on the hinge side. A wide top gap points to the top hinge.
- Test every hinge screw by hand. Mark the ones that spin.
- Replace the center screw on each jamb-side hinge with a 3-inch screw.
- Repair any stripped holes with a glued golf tee or dowel.
- Shim any hinge that sits too deep, then reinstall with longer screws.
- Recheck the door fit. Adjust the strike plate only after the hinges are correct.
- Lubricate the hinge pins and confirm the door closes firmly without forcing it.
Frequently asked questions
How long does it take to fix a sagging door?
For a standard interior door with stripped hinge screws, plan on 30 to 60 minutes including cure time for any wood glue used in a repair. Exterior doors, solid-core doors, or cases where the frame is out of square can take several hours or require a return visit.
Can I fix a sagging door without removing it?
In most cases, yes. The door stays in place while you swap screws, repair screw holes, and shim hinges. The only time you need to remove the door is when you are replacing a hinge entirely or rehanging a door that has come off the frame.
What size screws should I use to fix a sagging door?
Replace at least the center screw on each jamb-side hinge leaf with a 3-inch wood or construction screw of the same diameter as the original. The longer screw reaches the framing stud behind the jamb, which is what actually holds the door weight.
Why does my door keep sagging after I tighten the screws?
If the screw holes in the jamb are stripped, the new screw will loosen again within weeks. The proper fix is to repair the hole first with a glued golf tee or dowel, then reinstall the screw so the threads bite into solid wood.
Can humidity cause a door to sag?
Yes. Wood doors and frames expand in humid weather and contract when indoor air is dry. In homes without humidity control, a door can swing from rubbing in summer to leaving a wide gap in winter. Long-term sag from humidity is usually about the hardware, since the wood returns close to its original size each season.
Is it worth replacing old hinges instead of repairing them?
If the hinges are loose in their mortises, pitted, or visibly bent, replacement is faster and more durable than repeated repair. For most homes with standard 3.5-inch interior hinges, a new set costs little and removes a variable from the diagnosis. For historic or specialty doors, keeping the original hinges and repairing the mounting is usually preferable.
What if the door rubs the floor instead of the jamb?
A door that drags the floor often has a different problem: the opening has settled, the floor has heaved, or the door itself has swollen at the bottom. Check the hinge side with a level first. If the jamb is plumb, the door may need to be planed along the bottom edge, which is a more involved repair than a hinge tune-up.
Should I shim the top or bottom hinge?
Shim the hinge that sits too deep in its mortise, regardless of position. In practice, the top hinge is the most common culprit because it carries the most load. A shim under the top hinge leaf usually fixes a door that rubs at the upper latch corner.
How do I know if the frame is out of square?
Hold a level against the hinge jamb from top to bottom. A plumb jamb shows the bubble centered. Measure the diagonal from the upper hinge corner to the lower latch corner and compare it to the opposite diagonal. If the two diagonals differ by more than half an inch, the frame is out of square.
Can a sagging door cause energy loss or drafts?
On exterior doors, yes. A door that does not seal against the weatherstripping lets cold air in and conditioned air out, raising utility bills. After fixing the hinges, check that the door\u2019s compression against the weatherstripping is even on all four sides. Replace weatherstripping if it has compressed permanently.
Leave a Reply