
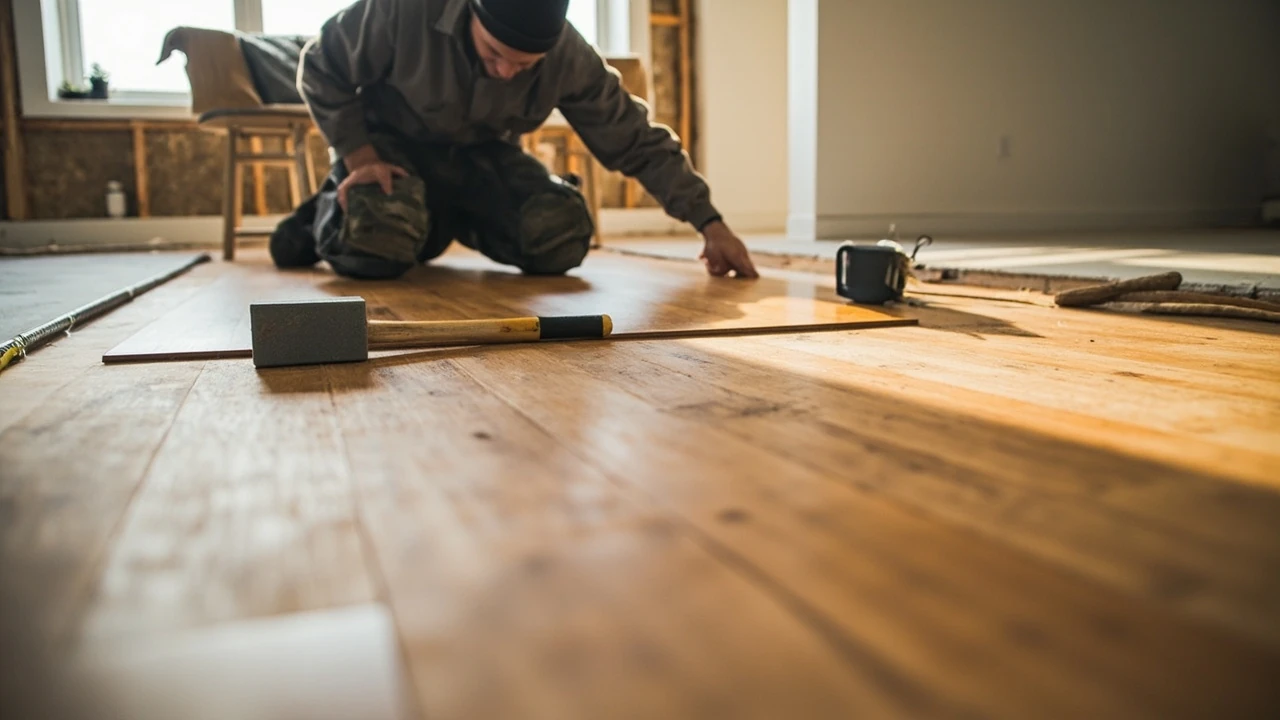
Floor installation: a practical guide for U.S. homeowners
A new floor changes how a home feels underfoot, how a room sounds, and how a property is judged at resale. A good floor installation also has to do quiet, technical work: it has to stay flat, stay quiet, and stay put through decades of foot traffic, furniture moves, and seasonal humidity swings. Most callbacks that contractors receive on flooring jobs trace back to a handful of recurring problems, and most of those problems begin before a single plank is cut.
This guide walks through how a residential floor installation is actually planned and executed, from the first decision about material to the final walk-through. It is written for homeowners who want to understand what their contractor should be doing, and for anyone weighing whether to attempt a portion of the work themselves.
What “floor installation” actually covers
Floor installation is the process of fitting a finished floor covering onto a prepared subfloor so that the result is level, stable, quiet underfoot, and able to handle the room’s expected use. The phrase sounds simple, but in practice it includes several distinct stages, and the order of those stages matters.
A typical floor installation includes:
- Measuring the room and calculating material quantities, including waste factor.
- Inspecting and, if needed, repairing or leveling the subfloor.
- Acclimating the new flooring material to the home’s interior conditions.
- Installing underlayment, moisture barriers, or both, depending on the product and the floor below.
- Laying the flooring using the method appropriate to the material: nail-down, glue-down, click-lock floating, or loose lay.
- Installing transitions, thresholds, baseboards, or shoe molding where the new floor meets walls, doorways, or other floor surfaces.
- Final inspection, cleanup, and cure time before heavy use or furniture placement.
Each of those steps has its own failure modes. Skipping the moisture test, rushing the acclimation period, or ignoring a low spot in the subfloor are all common ways for a floor installation to fail long before the flooring itself wears out.
Choosing the right flooring material
The material you choose drives almost every other decision on the job, from subfloor prep to the tools the crew brings. The same room can be a perfectly fine candidate for one product and a poor candidate for another, so the material choice should be made before any other commitment.
| Material | Typical installation method | Where it works well | Where it struggles |
|---|---|---|---|
| Solid hardwood | Nail-down or staple-down over plywood | Living areas, bedrooms, hallways above grade | Below-grade basements, full bathrooms, areas with standing water |
| Engineered hardwood | Nail-down, glue-down, or floating | Most rooms, including over concrete with a moisture barrier | Rooms with chronic moisture or very uneven subfloors |
| Laminate | Click-lock floating over underlayment | Budget-friendly whole-home use, rental properties | Bathrooms, laundry rooms, areas prone to water leaks |
| Luxury vinyl plank (LVP) and tile (LVT) | Click-lock floating, glue-down, or loose lay | Kitchens, bathrooms, basements, homes with pets | Sun-exposed rooms without UV protection on the wear layer |
| Ceramic or porcelain tile | Thinset mortar over cement board or uncoupling membrane | Bathrooms, kitchens, entryways, mudrooms | Upper floors without proper subfloor reinforcement |
| Carpet | Stretch-in over tack strip and padding | Bedrooms, finished basements, media rooms | Wet areas, high-traffic entries, allergy-sensitive households |
| Sheet vinyl | Glue-down or perimeter bond | Bathrooms, laundry rooms, small kitchens on a budget | Large open areas where seams are hard to hide |
A useful rule of thumb: match the material to the moisture and traffic conditions of the room first, and to the style of the rest of the house second. The same floor in a guest bedroom and a mudroom has very different requirements, and trying to use one product in both locations is a common source of premature failure.
How to measure and order the right amount of material
Running short of flooring mid-installation is more than an inconvenience. Different dye lots of the same product can have visible color variation, and a partial order that arrives a week later may not match what is already on the floor. Ordering too much wastes money; ordering too little can derail a project schedule.
For rectangular rooms, the math is straightforward: multiply length by width to get the square footage, then add a waste factor. For irregular rooms, break the space into rectangles, calculate each one, and add the results together.
| Layout complexity | Recommended waste factor | Notes |
|---|---|---|
| Straight lay in a simple rectangle | 5-7 percent | Few cuts, predictable plank runs |
| Diagonal or herringbone pattern | 10-15 percent | Angle cuts at every wall consume more material |
| Rooms with many corners, closets, or odd angles | 12-18 percent | Each transition adds offcuts that cannot be reused |
| Tile in a small bathroom with a drain centered in the floor | 15-20 percent | Cuts around the flange and curved layouts add waste |
Always round up to the next full carton, because partial cartons often cannot be returned. Keep one or two leftover cartons after the job is complete. They tend to disappear faster than homeowners expect when a dishwasher leaks, a pet scratches a corner, or a chair leg damages a single plank.
Subfloor preparation: the step that decides everything
Most visible problems with a finished floor start as invisible problems with the subfloor. A floor installation cannot correct high spots, low spots, squeaks, or movement in the substrate. Whatever is underneath the new material has to be flat, clean, dry, and structurally sound, or the new floor will telegraph every flaw.
Three checks matter most:
- Flatness. For most floating floors, the subfloor should be flat within 3/16 inch over 10 feet. For glue-down tile and many hardwood products, the tolerance is tighter. Low spots can be filled with a Portland-based patching compound; high spots in plywood can be sanded; high spots in concrete have to be ground down.
- Moisture. Concrete slabs in particular can transmit moisture that destroys wood, laminate, and adhesive bonds. A calcium chloride moisture test or an in-slab relative humidity test gives an actual number rather than a guess. Results above the flooring manufacturer’s published limit mean a moisture mitigation system is required, not optional.
- Structural soundness. Squeaks, bounce, and movement come from the subfloor not being properly fastened to the joists. A floor installation is the right time to add screws to loose panels rather than to assume the new floor will hide the problem.
If the subfloor fails any of those checks, the installation should pause until the substrate is corrected. Rushing past prep is the single most expensive shortcut in residential flooring.
Acclimation: why the boxes sit in the living room for days
Wood and wood-based flooring products are hygroscopic. They absorb and release moisture as humidity changes, which causes them to expand and contract. A floor installation that ignores acclimation locks a moisture content into the product that may not match the home. Later, the floor moves to find its own equilibrium, and the result is gaps, cupping, or buckling.
Manufacturer instructions vary, but the standard practice is to leave the cartons in the room where they will be installed, opened or at least unsealed, for several days. The home’s HVAC system should be running so temperature and humidity match the conditions the floor will live in. Skipping this step is one of the most common reasons a new hardwood floor develops gaps in its first winter or cups in its first humid summer.
Comparing the main installation methods
Once the material and the subfloor are ready, the installation method becomes a function of the product, the substrate, and the conditions of the home. The table below summarizes the most common approaches and where each one fits.
| Method | How it works | Best for | Limitations |
|---|---|---|---|
| Nail-down or staple-down | Mechanically fastened through the tongue into a wood subfloor | Solid and engineered hardwood over plywood | Not suitable over concrete; requires a pneumatic tool and skilled handling |
| Glue-down | Adhesive applied to the subfloor with a trowel, planks or tiles set into the wet adhesive | Engineered hardwood, LVT, sheet vinyl, parquet | Adhesive cost and odor; harder plank replacement later |
| Click-lock floating | Planks or tiles lock together at the edges and rest on underlayment, not on the subfloor | Laminate, most LVP and LVT, many engineered hardwoods | Can feel hollow underfoot; needs careful expansion gap planning |
| Loose lay | Heavy backing and friction hold the material in place with no adhesive | Some LVT products, modular carpet tiles | Limited product range; not ideal in high-traffic commercial settings |
| Mortar bed (thinset) for tile | Tiles embedded in adhesive over a cement board or uncoupling membrane | Ceramic, porcelain, and natural stone tile | Requires a stiff, well-reinforced subfloor to prevent cracking |
Floating floors are popular in part because they are forgiving for homeowners who want to do a portion of the work themselves. They also tend to be quieter to install, with no adhesive fumes and no nail gun. The trade-off is that floating systems are only as good as their underlayment, and a cheap underlayment can make even an expensive floor feel hollow.
What a homeowner should expect during the job
A typical single-room floor installation is a one- to two-day job for a small crew, once the prep work is finished. Whole-home projects are usually staged room by room so that part of the house remains usable. A few expectations are worth setting in advance.
- Noise. Even quiet floating floors involve cutting planks, which means a miter saw or a wet saw for tile. If small children nap at home, or if someone works night shifts, plan around the loudest hours.
- Dust and debris. Subfloor grinding, tile cutting, and demolition of an old floor all produce dust. Good crews use plastic walls to isolate the work area and a HEPA vacuum on their tools, but some dust will escape.
- Access. Crews need a clear path from the truck to the work area, and they usually need a power source. Driveways may be briefly occupied, and pets need to be kept away from open doors and tools.
- Sequence with other trades. If the floor installation is part of a larger remodel, it should generally happen after drywall, painting, and ceiling work, and before the final installation of baseboards and shoe molding. Furniture delivery and appliance installation should be scheduled after the floor has cured.
Homeowners who understand that sequence tend to have smoother projects, because they can spot it when a contractor tries to start the floor before the ceiling has been painted.
Common mistakes that shorten the life of a new floor
Even a careful floor installation can be undermined by a few recurring errors. Many of them are tempting because they save a few hours in the moment but cost years of useful life later.
- Skipping the moisture test. Both wood and concrete can carry more moisture than the new floor is designed to handle. A failed test is a delay, not a disaster, and ignoring it almost always becomes one.
- Laying product on an uneven subfloor. Floating floors will flex and joints can crack; glue-down floors will bond unevenly and telegraph the high points.
- Ignoring the manufacturer’s expansion gap. Wood-based floors need room to expand at the perimeter. Baseboards cover the gap, but only if the gap is actually there.
- Forgetting door clearances. A new floor can raise the surface enough that doors no longer swing freely. Plan for trimming door bottoms before the final row goes in.
- Walking on the floor too early. Adhesive and grout both have cure times. Furniture placed on an uncured floor can leave permanent indentations or break the bond.
- Choosing the wrong product for the room. A beautiful solid oak floor in a basement laundry room is almost always a future repair, not a future asset.
None of these mistakes are exotic. They are the routine, predictable failures that an experienced installer avoids without thinking, and that a less careful one steps over.
DIY versus hiring a professional
Some flooring projects are genuinely within reach of an experienced do-it-yourselfer. A single room of click-lock laminate or luxury vinyl plank, in a square space, on a flat subfloor, is a reasonable weekend project for someone comfortable with a tape measure, a utility knife, and a tapping block. The materials are designed to be installed without specialty tools, and the cost savings on labor can be meaningful.
Other projects are not. Solid hardwood that needs to be nailed down, tile that needs to be cut around a curved shower flange, a stairway with multiple landings, and a subfloor that has to be rebuilt before anything goes down are all jobs where a professional floor installation pays for itself in time, tooling, and risk reduction.
For a useful read on the broader tradeoffs of hiring a specialty contractor versus a handyman for a residential floor installation, a Bowling Green, Kentucky handyman service that has published a straightforward overview of common flooring options and the value of professional fitting is a helpful starting point for understanding what the job actually involves. Their description of how different materials suit different rooms, and how a specialty fit protects property value, lines up with what most manufacturers publish in their own installation guides.
The decision usually comes down to three questions:
- Is the subfloor already flat, dry, and sound, or does it need work?
- Does the product require specialty tools that are not already in the garage?
- Will an error cost more in materials and rework than the savings on labor?
If the answer to any of those is “I’m not sure,” a professional estimate is worth the time, even if the homeowner ultimately decides to do the work themselves.
How long a floor installation takes
Time estimates depend on the product, the room, and the state of the subfloor. The ranges below reflect typical residential jobs in good conditions, with a small experienced crew, and not the unusual cases.
| Project | Typical duration | Main drivers |
|---|---|---|
| One 12-by-12-foot room, click-lock floating floor, flat subfloor | 1 day | Acclimation already complete; minimal cuts |
| Whole-home floating floor, 1,000 square feet | 2-4 days | Room transitions, door trimming, appliance moves |
| Solid hardwood, nail-down, single room | 2-3 days | Nailing pace, board racking, sanding and finishing if site-finished |
| Tile floor, bathroom with shower flange | 2-4 days, plus grout cure | Membrane installation, layout planning, cut complexity |
| Subfloor rebuild before any new floor | 1-3 additional days | Joist sistering, panel replacement, leveling |
Cure times add to the calendar even when they do not add to the work hours. Adhesive needs 24 to 72 hours to reach handling strength depending on product, and grout needs a similar window before wet mopping. Planning for those quiet days avoids the most common mistake of all: using the new floor before it is ready.
Maintaining a new floor so it lasts
A properly installed floor is mostly a matter of routine. The list below covers what most manufacturers recommend in their care guides, and what tends to matter in real homes.
- Keep grit off the surface. Walk-off mats at exterior doors cut the amount of abrasive soil that reaches the floor. Vacuuming with a hard-floor attachment is gentler than a beater bar on most products.
- Control indoor humidity. Wood-based floors stay flatter and quieter when the home stays between roughly 30 and 50 percent relative humidity. That range is also where most manufacturers set their warranties.
- Use the right cleaner. Water and a neutral pH cleaner are safe for almost every product. Steam mops, oil soaps, and ammonia-based cleaners are not, even when a finish looks like it can take them.
- Protect the surface. Felt pads under chair legs, a mat under a rolling office chair, and a tray under a plant pot are inexpensive and effective.
- Address spills quickly. Standing water is the enemy of wood, laminate, and the fiberboard cores in many engineered products. The longer a spill sits, the more it migrates into seams.
A floor that is treated this way will not just look better in year three; it will still be in service in year twenty, long after the trend-driven product choices of the moment have been replaced.
Frequently asked questions
How long should I let new flooring acclimate before installation?
Most wood, laminate, and luxury vinyl products need at least 48 to 72 hours in the room where they will be installed, with the HVAC running and the cartons opened or unsealed. The manufacturer’s installation guide for the specific product is the right source, because the exact range varies by product thickness and core material.
Can new flooring go over an existing floor?
Sometimes. A single layer of well-bonded ceramic tile, sheet vinyl, or hardwood can serve as a substrate for a floating floor, provided the surface is flat and clean. Glue-down and nail-down installations usually require the old floor to be removed. Manufacturers publish maximum allowable heights for layering, and a floor installation that exceeds them is at risk of joint failure.
Do I need to remove baseboards before a floor installation?
Removing baseboards allows the new floor to expand into the proper perimeter gap and gives the installers a clean edge to work against. Many contractors instead install a quarter-round or shoe molding on top of the existing baseboards to cover the gap, which is faster and less risky for old plaster walls. Either approach is acceptable if the expansion gap is correct.
Is it normal for a new hardwood floor to have small gaps in winter?
Yes. Solid and engineered wood both respond to indoor humidity. As winter air dries, boards shrink slightly, and hairline gaps can appear between rows. The gaps typically close again in the humid summer months. Chronic, wide gaps are a sign of an acclimation problem or a humidity problem, not a seasonal pattern.
How do I know whether my subfloor needs replacement before new flooring goes down?
Walk the room and listen for squeaks and feel for bounce. Look for water staining, soft spots, and visible movement in the panels. If the subfloor is plywood, check for delamination at the edges. If the subfloor is concrete, look for cracks wider than a credit card and for signs of moisture wicking. Any of those conditions warrant a closer inspection before a new floor goes down.
What is a reasonable waste factor when ordering flooring?
For a simple straight lay in a rectangular room, 5 to 7 percent is enough. For diagonal patterns, herringbone, or rooms with many corners and closets, 10 to 15 percent is safer. The waste factor is a hedge against cuts that do not produce a usable offcut, and against a damaged carton that has to be replaced.
Should I be home during a floor installation?
It is useful, especially at the start of the job and at key decision points: where transitions fall, how the first row is laid, and how the crew handles an unexpected subfloor condition. A homeowner does not need to be present for every cut, but being available for questions prevents the crew from making a default choice that the homeowner has to live with.
Can furniture go back on a new floor right away?
For floating floors, immediately, with felt pads. For glue-down floors, after the adhesive has cured to handling strength, usually 24 hours. For tile, after the grout has cured, typically 48 to 72 hours. Heavy furniture, appliances, and rolling loads should wait longer, because the bond is still gaining strength beyond the handling point.
Is a subfloor moisture test really necessary?
If the subfloor is concrete, yes, every time. A simple plastic sheet taped to the slab for 24 hours is a rough check; a calcium chloride test or an in-slab relative humidity test is more accurate. If the subfloor is plywood over a conditioned space and the home has been climate-controlled for years, a visual inspection is often enough. The product warranty usually depends on the test result, so the answer in most cases is to do the test.
What is the most common reason a floor installation fails?
Movement or moisture in the subfloor. A new floor is only as good as the surface it sits on, and a substrate that flexes, holds water, or was never properly fastened will eventually show through even the most expensive top layer. Prep is the part of the job that nobody photographs, and it is the part that decides how the floor performs for the next two decades.
Leave a Reply